TRP3 Core

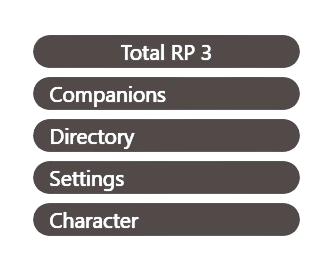
The TRP3 add-on has five clickable menus: TRP3 main menu, characteristics, companions, directory and settings.The TRP3 Main Menu contains a status tab, in which you can change your characters’ status from in-character or out-of-character, and your roleplaying status in which you can change your personal roleplaying experience from rookie, experienced and veteran, all of which come with detailed explanations.Newcomer: this selection will show an icon on your tooltip, indicating to others that you are a beginner roleplayer.Veteran: shows that you are an experienced roleplayer. It will not show any specific icon on your tooltip.
Newcomer Guide: this selection will show an icon on your tooltip, indicating to beginner roleplayers that you are willing to help them.
Casual: this selection will show an icon on your tooltip, indicating that you are casually in-character.Walkup Friendly: this selection lets people know that you are open to walk-up roleplay, and will be indicated by a three-person icon on your profile.This section also includes a menu telling you what’s new about the addon, including updates and credits, information about the addon and more modules for further reading.
Character

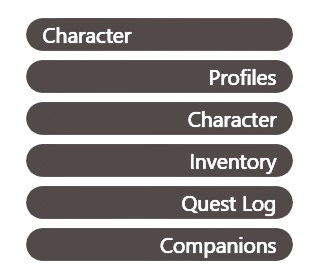
This tab has four additional clickable menus: profile, character, inventory and quest log.Profile contains all of the profiles you’ve made for your characters, and includes a search bar in the top left corner, as well as a large create profile banner in the middle of the page. There is a small red arrow icon you can click on the corner of each profile, which includes various options.Profile Management contains three clickable options: rename profile, duplicate profile and delete profile.Export/Import Profile contains two clickable options: import profile and export profile. Clicking on either of these options will allow you to import a saved profile, or export a profile. There are detailed instructions as to how you are supposed to import and export a profile. You can also shift-click over your profile with an open chat bar to export the profile into it, making it either viewable or importable.
Companions contains all of the profiles you’ve made for your companions, like hunter’s pets or battle pets. It also has a search function in the top left corner, and all of the things that apply to the character profile tab apply here.How to: You may attach a profile to a pet by first naming it, and then clicking on it. A small menu will pop up that will contain a cog wheel. You may click on it, create a new profile for your pet, or select a profile you’ve already made.
Directory

This tab has three additional clickable menus: character list, companion list and the ignored list.The character list contains all of the profiles you’ve encountered before, sorted alphabetically, with a search function at the bottom of the tab. You can search by character name or their guild, and toggle if you’ve written notes about them or if they are on this realm only, which comes pre-selected. You can choose to purge your register in the top left, which will remove every profile you’ve encountered. Your most recently opened profiles will be saved underneath the directory tab, and can be closed all at once or individually.Relationships: detail what relationship your character has with them, and will border their profile with the accompanying colour.
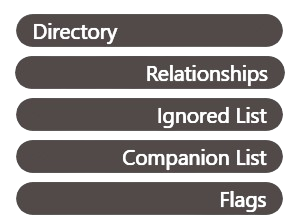
Ignored List: contains characters’ you’ve ignored by clicking the TRP3 ignore button. You can set a note as to why you’ve ignored them, or leave it blank. This will prevent that profile showing up. You can click their name to remove your ignore.Companion List: contains all of the profiles you’ve encountered before, and who’s pet it is. You can search by the companion name, type, or the players’ characters’ name.Flags: indicate new, updated information about the profile since you last opened it, and have corresponding icons. The magnifying glass means that there are at-first-glances, and the page indicates that there is an unread description.
Customization

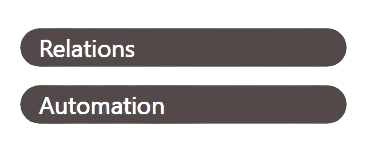
This tab has two additional clickable menus: relation and automation.Relations: detail what relationship your character has with them, and will border their profile with the accompanying colour.Automation: this allow automatic profile swaps and roleplay statuses to be set by an action from the dropdown menus.
With the new update for TRP 3.0 finally here, it's now possible to customize your relationships with your own colours, icons, names and relation to your character.%p relates to your character, while %t relates to the person. For example, to make a custom relation, you will edit the name, colour and icon of the asset, and write your text between these two codes.%p is married to %t.
Making a Profile

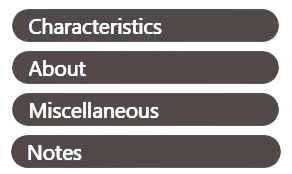
After you’ve made a profile template for your character, you’ll see four tabs at the top of your addon: characteristics, about, miscellaneous and notes.The characteristics tab contains the names and titles of your character, the directory information, the additional information tab and the personality traits tab.The about section: contains the description of your character, links, images, themes and the majority of your formatting.The notes section: contains personal notes, no one will be able to see these.
The miscellaneous section: contains your at-first-glances, currently, out-of-character information and preferences.
Characteristics Tab; In depth

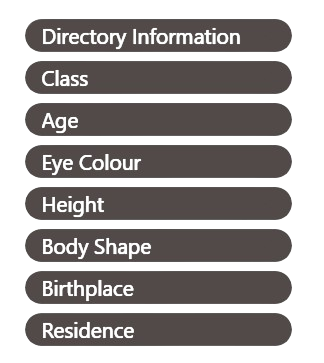
The characteristics tab allows you to customise the first-glance essentials of your characters, including their age, eye colour, height, relationship status, class, residence, birthplace and body shape beside their title, first and last name, and general titles. Make sure to save your progress!Icon: the default icon for your profile relates to your player race, and can be changed. If you don’t change it, it will remain the default.Colour: the default colour for your profile relates to your players class, and can be changed. If you don’t change it, it will remain the default. Eg: yellow for rogues, pink for paladins, etc.Titles: your characters’ title is the title by which your character is usually called. Avoid using long titles, as you can use the full title attribute below. Some appropriate titles include: countess, marquis, lord, etc.Birthplace: your characters’ birthplace. You can choose to leave this blank, and it won’t show up on your profile. You don’t have to make it make sense or connect to the race of your character! You can click the house beside the writing section to input your current position as their birthplace!Eye Colour: your characters’ eye colour. You can click the cog to prompt a colour menu to pop up, either input a hex-code in the code section and press enter to select the colour or click and drag your mouse around the colour wheel to select a colour. You can select the darkness of your colour, or save it as a preset.Body Shape: your characters’ body shape. You can include specific details in any measurement or provide a vague description. Some suggestions include: plump, lithe, muscular, built, pear-shaped.Height: your characters’ height. You can include specific details in any measurement or provide a vague description. Some suggestions include: tall, short, imposing, towering, shortstack.Relationship Status: a pre-made drop-down menu to indicate the status of your characters’ relationship. You can select ‘do not show’ to keep it hidden.
Names: your characters’ first name. This field is required, so if you don’t specify a name, your characters’ name will be used. You can also use a nickname. Your last name, or surname, is your characters’ family name.Full Titles: here you can write your characters’ full titles, it can either be a longer version of your characters’ title or a different title entirely.Race: this section details your characters’ race, and isn’t limited by playable races. You can choose to add a space in this section to leave it blank. Leaving it entirely blank will default to your characters’ race. Some suggestions include; human, draenei, dwarf, eredar, quel’dorei, kaldorei.Class: this section details your characters’ class, and isn’t limited by playable classes. You can choose to add a space in this section to leave it blank. Leaving it entirely blank will default to your characters’ class. Some suggestions include; knight, seamstress, baker, fighter, assassin.Age: here’s where you can put your characters’ age. You can put either a number, or a vague description, like adult or young adult. Make sure to look at guides and wikis if you’re using a specific number! Every race, playable or otherwise, usually has an age guide.Residence: your characters’ residence, or where they live. You can choose to leave this blank, and it won’t show up on your profile. Some suggestions include: nomad, stormwind city, elwynn forest, duskwood, etc. You can click the house beside the writing section to input your current position as their residence!
Tip: try searching for things like helmet, boots, herb, food and expansion-specific keywords like legion or shadowlands to narrow down your search. If you’re looking for an icon without a border, try circle, legion, pvp or ui.Tip: you can save a colour as a preset, or use a preset by selecting 'presets' in the colour wheel and selecting 'save' or using their pre-established colours!
Additional Information, Personality and Icons

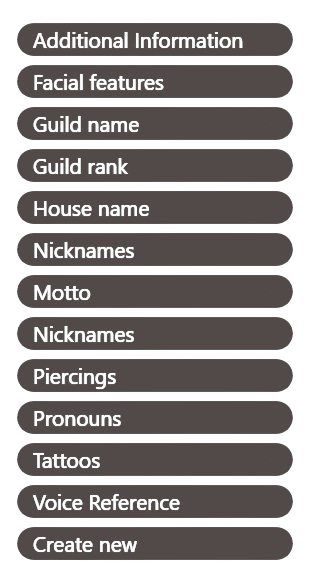
The additional information section of the characteristics tab has many options, including: facial features, guild name, guild rank, house name, motto, nicknames, piercings, pronouns, tattoos, voice reference and create new. Four of these, including the guild additions and personal information, such as the pronouns and voice references, will be displayed on your profile when someone hovers over your character.You can change the name, icon and value of the additional field by rewriting the information or clicking on the icon itself. You can press the large ‘x’ button to remove the field altogether.The personality trait section of the characteristics tab allows you to add specific traits and personality quirks on a sliding scale. You can choose from numerous pre-made selections, which are uneditable beyond moving the scale, or create a pre-made trait by clicking ‘create a trait’.
When creating a custom trait, you can change the name of the left attribute and the right attribute, as well as their icons and the colour that will display on the slider.You can change the icon of your character, additional information, personality traits, at-first-glances and more. To change an icon, simply click on the icon you’d like to change to open up the icon menu. There is a filter, which acts as a search bar. You can also hold down and drag additional traits to reorganise them!
Background and Themes

There are many individual backgrounds to choose from, including one default background that will be applied if the background isn’t changed. Every background has their ups and downs, and it’s a personal choice as to which one looks the best.You can choose to add a character theme, which will play when someone clicks on your profile and opens the about section. Simply click the button that says ‘music’ theme and choose ‘select character theme’ to open up the music browser.
Right-click to start playing the theme, and left-click to select the theme for your profile. You can stop playing the music when looking at a profile by clicking ‘stop’ and resume it by pressing ‘play’. You can also unselect the theme by pressing the ‘music theme’ button and clicking the option.